This recipe is adapted and modified from the King Arthur Flour no-kneed sourdough recipe found here. I've been told that this is some of the best bread in the world. I'm not a big bread person and I find it to be good but it's not a religious experience. Some of my people beg to differ though - I get a lot of encouragement to continue making a weekly loaf.
Timing is important, as is getting a feel for when the yeast culture is ready. I'll add notes to help keep you on track. This recipe will deliver a loaf of sourdough you can eat on day 3 to day 6. Most of the work (mixing, refreshing the starter, and timing the stretching and folding) is on day 2, which has a morning and afternoon segment. Plan to let the baked sourdough cool at least 90 minutes before enjoying it.
Ingredients:
- Bread flour (higher protein than all-purpose): in total at least 750g
- Sourdough starter (about 20g - should be kept covered and in the fridge - see notes if you're rehabilitating an old or neglected culture)
- Lukewarm water
- Table salt (18g)
Equipment:
- Parchment paper
- Sourdough starter container: a 100 ml sealing Tupperware is perfect
- Kitchen scale
- Large bowl with cover (or plastic wrap)
- Large wooden spoon
- Fridge space for the large bowl plus its cover
- Smaller bowl with a lid that's almost airtight (or plastic wrap)
- Scissors
- Optional: thermometer probe
- Familiar oven - know whether it runs a bit hot or a bit cool
- Good oven mitts (thick ones - this stuff is HOT)
- Cooling rack
- Hot oven-proof cylindrical baking vessel with a lid; like one of the following:
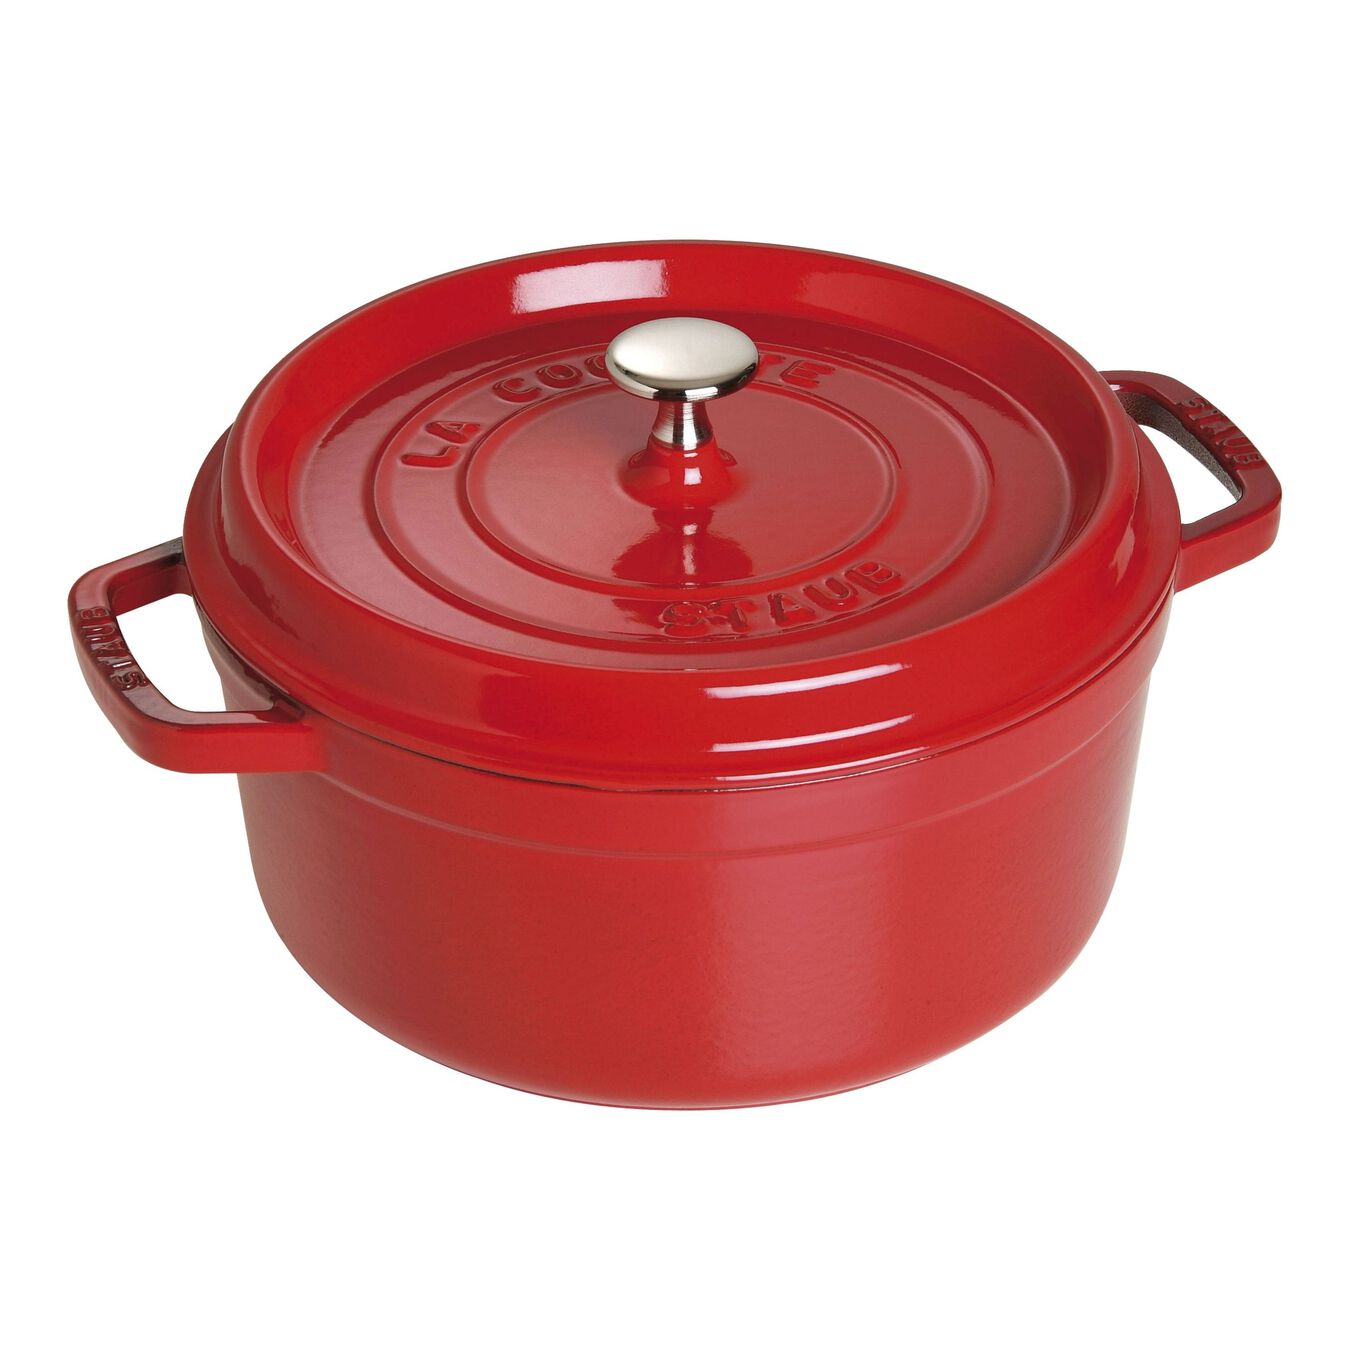
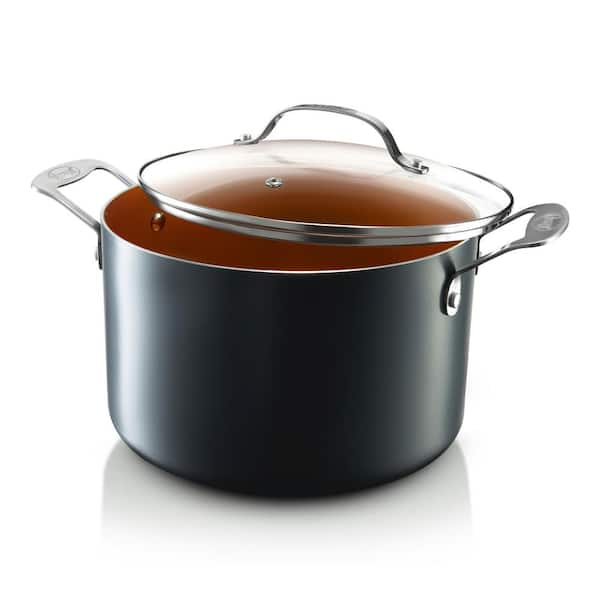
Instructions:
Day 1 in the evening:
Tare your smaller bowl on the scale and dump in your sourdough culture. Add a 1:1 mixture of bread flour and lukewarm water to make the total up to about 80g. (Example: 20g starter + 30g each of flour and lukewarm water.) The water temperature is important: above body temperature and you'll kill the yeast; cooler than about 25°C and it might not properly ripen. In a cool environment use slightly warmer water or a slightly longer time before the next step.
Whisk the starter, flour, and lukewarm water together. Get lots of air into it; unlike brewing beer we want lots of air into this mix, since we want the yeast to aerobically respire. Cover and let sit at room temperature overnight. If you're about to run the dishwasher pop the sourdough culture container in there; otherwise give it a quick rinse. You'll need it at least kind of clean the next morning, but it doesn't have to be sterile.
Day 2 in the morning:
If all went well, your 80g of stuff should have lots of bubbles in it - about half as many as a same-sized crumpet would have. It should have risen visibly too. If not, perhaps try slightly warmer water next time, and you might need to extend the waiting time of the next phase by an extra hour or so.
Place the smaller bowl on the scale, tare it again, and add 100g of bread flour and 103g of lukewarm water. (Precision seems to help - you do want this step to be a touch wetter than a 1:1 mixture.) Mix it vigorously for a half minute. Next, tare your sourdough container, plop in 20g of starter from the small bowl, and pop it covered in the fridge. (If you suspect your starter was weak, keep it out of the fridge maybe an hour or so first, and whisk it before putting it back in the fridge. It'll be stronger next time.) Loosely cover the small bowl: keep maybe 0.25 to 1 square cm total of air exposure, and let it sit mostly covered at room temperature until the afternoon. If the air is really dry cover it more tightly, or use a little more than 103g of water to start with.
Day 2 in the afternoon:
Here's an overall summary of the four events over three hours in day 2, afternoon. Mix the dough, wait an hour, stretch the dough 10x, wait another hour, stretch it again 10x, wait yet another hour, stretch it 10x one last time, and refrigerate. Here are the details.
By the afternoon the sourdough starter should be spongy, sticky, and fragrant. If not, try slightly warmer water next time, and give it a bit more time to respire today. Yeast grows faster in a 1:1 flour:water ratio than it will after we mix in more flour and salt, so rushing on to the next step with an unripe starter isn't going to get you bread any faster.
Tare the big bowl and measure how much starter you have by transferring it into the big bowl - the starter should be more than 227g. Compute the amount the starter eXceeds 227g; we'll call this "X". (Suppose there's 259g of starter; "X" is 32, and X/2 is 16.) Next, add (602-X/2)g of bread flour and (397-X/2)g of lukewarm water. (In our example with 259g of starter, that would be 602g - 16g = 586g flour, and 397g - 16g = 381g of lukewarm water.) Then add 18g of salt. Mix in the big bowl with a wooden spoon until it's a very rough dough (30 seconds of mixing should do it), cover (this can be a more tight cover than the previous small bowl cover with a gap), and leave it on the counter for an hour.
After waiting the hour, wash your hands, gather the rough dough and lift it above the bowl. Let gravity stretch the dough until it has a 2:1 aspect ratio, with one hand grab the bottom edge of the dough and fold it to the top, and rotate the dough ball by 90° so the next time gravity tugs on the dough ball it stretches in a direction 90° to the previous stretch. Perform the stretch, fold, and rotate operation a total of 10 times; this might take a few minutes. Replace the dough in its bowl and cover it again.
Wait an hour, then repeat the 10x stretch, fold, and rotate in the previous paragraph. Then wait an additional hour, repeat the 10x procedure one final time, cover the bowl, and put it into the fridge.
Baking day (day 3 - 6):
Today's the baking day. The bread should have risen considerably in the fridge. If not, perhaps give it another hour of room-temperature rising in its vessel. All times today are relative to T, the time you want to eat the bread. For example if you want the bread for a 6:00PM dinner, start the T - 4.5 hours step at 1:30 PM.
T - 4.5 hours
Lightly sprinkle flour on a clean surface, dump the dough upside-down onto the surface, cover it with the upside-down large bowl, and wait 15 minutes. Any really big bubbles in the loaf should pop - good riddance.
Meanwhile, cut a wide strip of parchment paper and lay it into the baking vessel. Enough of the walls should be covered that there will be a few inches of paper above the dough ball once it's placed in the vessel. The paper is not optional, and don't be stingy with it. The dough must never touch hot vessel directly at any point during the baking process or it will stick terribly. Make sure the parchment barrier will be sufficient for your loaf.
T - 4.25 hours
Pick up the dough and flip it upside down again and place it into the parchment-paper-lined baking vessel such that the recently-floured side (from sitting on the floured surface) is facing up. Put the lid on the baking vessel and let it rest at room temperature.
T - 3.5 hours
Set the oven rack you'll use to its third-lowest position, and ensure there's nothing above it that will interfere with your baking vessel. Start preheating the oven to 500°F (260°C). Give the oven an hour to come up to temperature - your oven might take less time, in which case you can start preheating a little later.
T - 150 minutes (T - 2.5 hours)
Dust the loaf's top with sprinkled flour. Using scissors, cut any parchment paper in excess of about 2 inches (5 cm) from the top of the bread, otherwise the paper might burn and flake onto the finished loaf.
Using the scissors oriented vertically, snip at several places about 1/2 inch deep (about 1 cm) on the loaf surface to make a cross pattern over the whole loaf . This will allow the loaf to expand in a pretty way as it bakes. Snipping is optional but recommended; omitting will cause a lopsided and denser (but still really tasty) loaf. Place the vessel's lid on the vessel, place the vessel into the oven, and immediately reduce the oven's temperature to 450°F (232°C). Bake for 42 minutes - a little longer if your oven's on the cool side, a little less if the oven runs hot.
T - 105 minutes
This step should be done fast and gently. It takes a bit of practice; ideally you won't crush the loaf and it will not spend much time in the cool air and thus will not fall much.
Using the thick oven mitts, lift the baking vessel out of the oven, remove the lid, and shake the loaf gently into one mitt. Holding the loaf in one mitt, remove the parchment paper from the bread with your fingertips. I find a fast, jerky motion works well. Using mitts, place the bread on the bare oven rack and bake an additional 15 minutes still at 450°F (232°C). If you have a probe thermometer you can check the interior temperature which should read 209°F or 210°F (about 98.5°C) when it's done. If you end up needing more or less time, your oven's probably slightly off and in future it'll be better to adjust the 42 minutes in the previous step rather than the 15 minutes here. Some folks like a more robust crust. If you do, try 20 minutes in this last step rather than 15.
The vessel will be HOT and have a high heat capacity! Make sure nobody burns themselves.
T - 90 minutes:
Using oven mitts, put the loaf on the cooling rack and wait 90 minutes before slicing and eating.
Notes
Storing culture for a long time:
If you need to store your starter for a long time, perhaps out of a fridge or in the mail, it's not a problem. Mix about 1g of starter with about 4g of bread flour (and a pinch of salt if you are feeling adventurous) and smoosh it together in a plastic baggie. The dry environment will slow the starter's metabolism right down. Keeping it in the fridge or even the freezer can make it last a lot longer - it should be OK in excess of 14 days at room temperature and likely a good 6 months in the fridge, at least. Your culture is now "mostly dead."
Recovering a "mostly dead" sourdough culture:
Making the sourdough culture ready to use again is pretty easy. Add anything you have left of the mostly-dead yeast culture to 25g of bread flour and 25g of lukewarm water, and mix it all by shaking it in a sealed jar big enough to have plenty of airspace in it. After a day or two sitting at room temperature you should see lots of bubbles, which are a sign everything went well. Your bubbly mixture is now a sourdough starter.
When to throw out your starter:
If you see visible mold or spotty discolouration in your starter, it's time to chuck it and look for a backup. This has never happened to me personally. Still, it's not a bad idea to spawn backup starter colonies from time to time, and to share it with friends to keep the flame alive.
When to let your sourdough starter "rest"
I've never had to let my starter "rest." You may read about it, but as far as I can tell it's unnecessary. I've made about 100 loaves total at this point, and a good culture just keeps on chugging.


